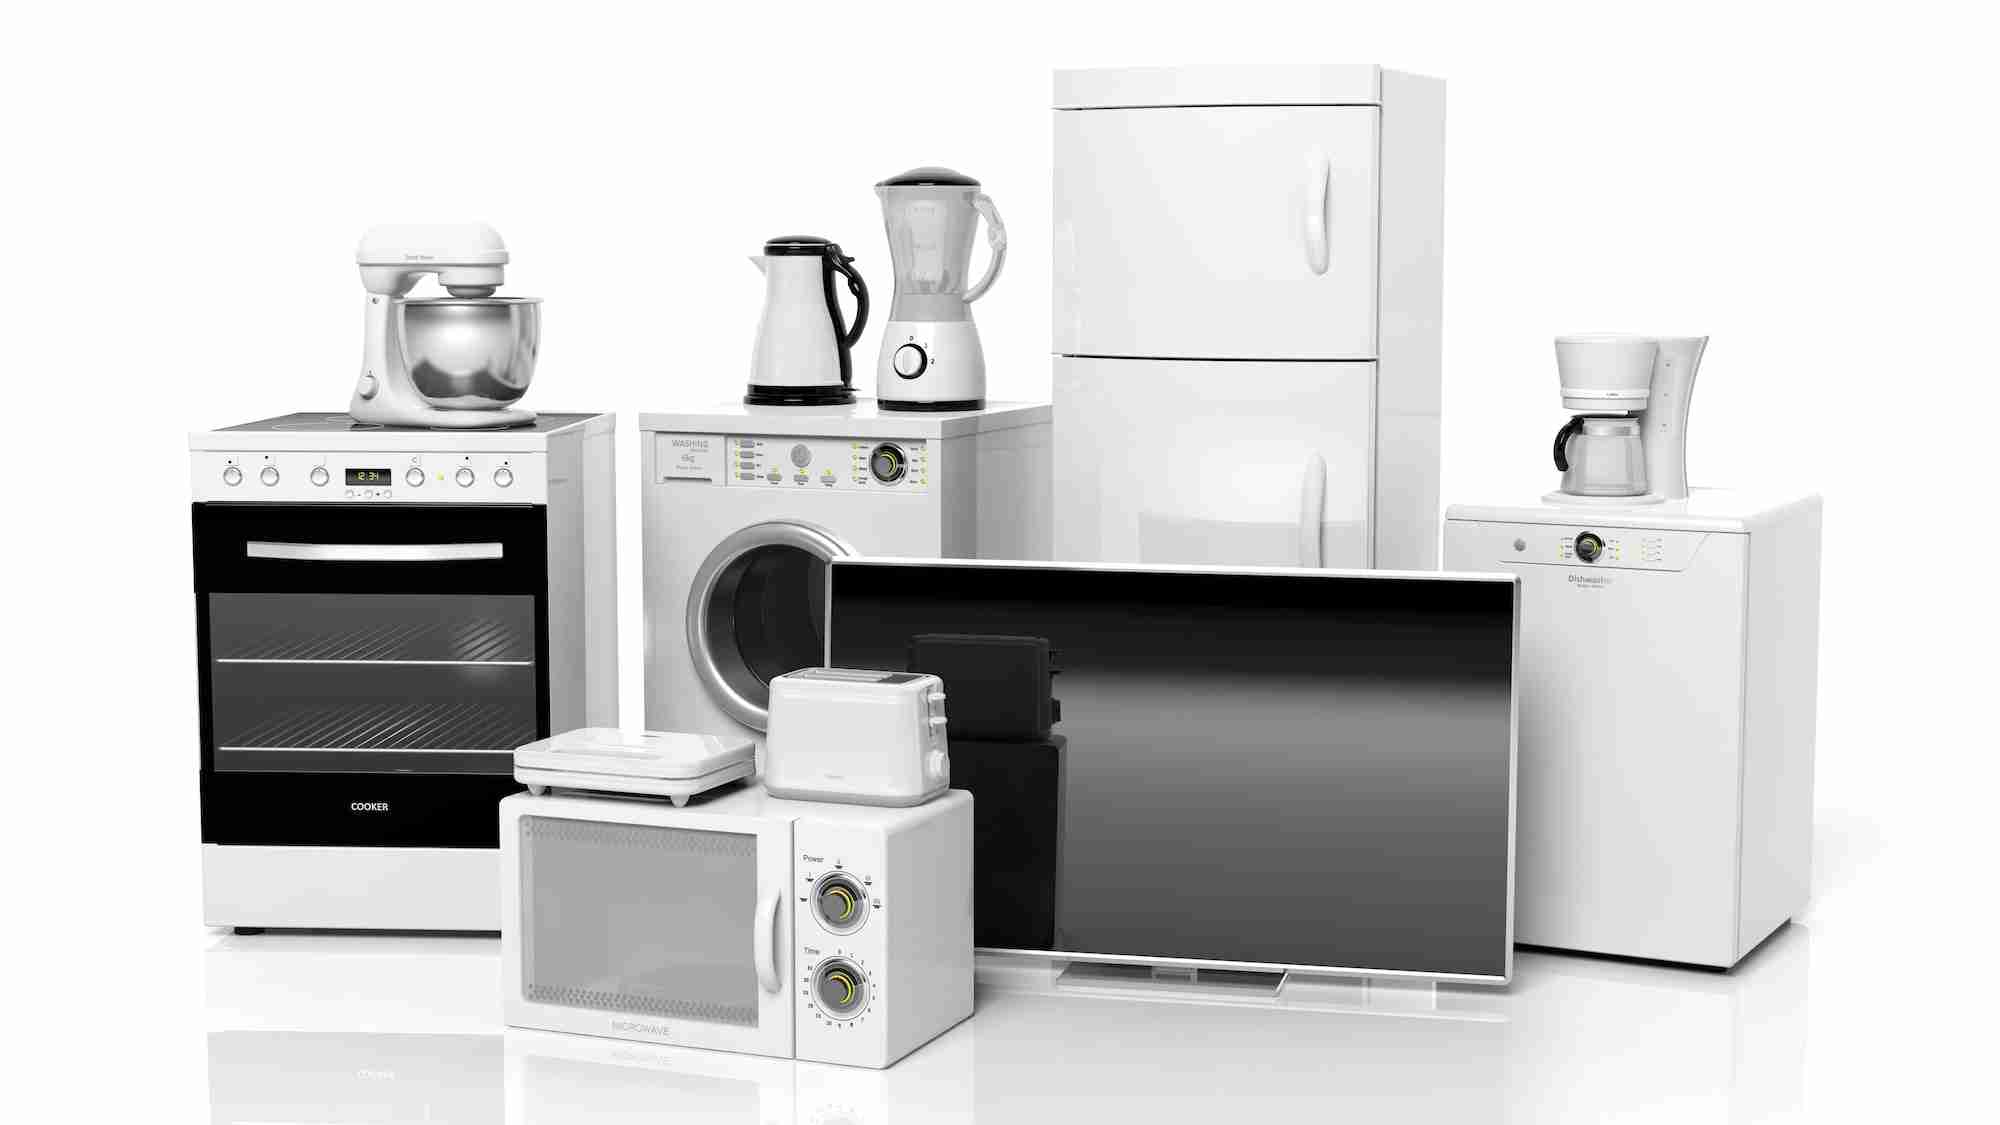
Whirlpool washer not filling with water. When it comes to washers, one of the best washers, there is no doubt Whirlpool washers. Whirlpool washers are one of the most used and trusted appliances.
Most of the time, due to the reasons Whirlpool washer is not filling with water properly and is leaking or having any other issue, there must be a technical or some other fault in it.
In this situation, you don’t need to get worried or panic as it can be easily solved on your own without taking any professional help.
Whirlpool washer not filling with water

By following these simple and easy steps in this article, you will be able to fix your Whirlpool washer all by yourself without getting help from a professional.
Step 1: Unplug the washer
The first and foremost step in repairing any electrically powered appliance is to unplug the washer.
Because when it comes to an electrical appliance, it is necessary first to unplug it.
This Whirlpool washer works with electricity, so the first thing is to unplug it.
Performing any work while electricity is on can be dangerous to you. Flip the circuit breaker to the washer and unplug it from all the power supplies.
After you are sure that all the electrical connections are removed, proceed further.
Step 2: Disassemble the washer
The next step is to disassemble the washer. To do this, you must remove the clamps and disassemble the washer properly. For this process, you need the help of a screwdriver as it is difficult to do this without a screwdriver.
Using a screwdriver will help to perform your work in very less time. Along with this, remove the clamp that runs down the door seal. This way, you can easily access the front panel of the washer and detach it to move further.
Step 3: Disconnect all the wire
After removing the clamp and the front panel then, the next step that you have to do is to disconnect or detach the wire connector from the gasket or the door seal.
Push the tab while removing the wire connector. In this way, the wire is detached. After this, you need to remove the control panel of the washer.
Do this process carefully and cautiously remove the control panel to access the inside of the machine.
Step 4: Remove the water level pressure switch
The next after removing the front and the control panel is to remove the water level pressure switch. This step is also important because this is the reason why your Whirlpool washer is not filling with water.
The problem is the water level switch can result in abnormal functioning and can also cause the washer to not fill with water.
Step 5: Install the new water level pressure switch
The next step is installing a new water level pressure switch in the washer. To install the new switch in the washer, just press and slide the switch into the washer.
The slot on the side of the washer is there so that the water level pressure switch can be easily inserted into it.
Step 6: Reassemble the washer

Finally, the last step is to reassemble the washer. Put the clamps back in the washer and properly reassemble the washer. Slide the front panel back into the washer.
Ensure you put the control and front panel properly in the washer. Use some screws to put the front panel back and reassemble the dishwasher’s door.
This way, you can easily repair your Whirlpool washer that is not filling with water. After reading this article, you will know all the steps to fix your Whirlpool washer that is not filling with water.
Conclusion
Whirlpool washer is the basic need of today. It helps to perform your work in a very less time. It is very beneficial and used by every household. Now, using a washer at your home is very common as it is the best and most convenient way to lessen your work.


